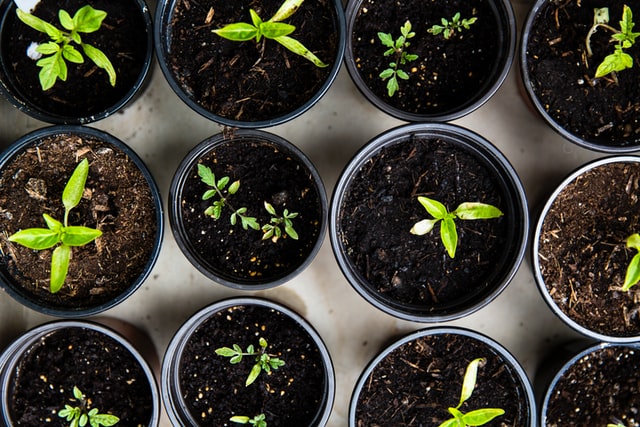
Starting seed indoors is the best way to give your tomatoes a jump start on the coming season.
It’s nearly February and for me that means that the time to start seeds is rapidly approaching.
In less than three weeks I will be planting my tomatoes at the end of the month during the full moon.Nearly four years ago I purchased some organic Wheatgrass seed, it was a really good heirloom variety so I saved some. At first I had them stored in the pantry, then they got moved. As it happens, I forgot all about them.
Starting Seed is Easy
Upon re-discovering them last week I had little confidence that they were any good. But since I am still a few weeks away from starting tomato seedlings I simply could not resist getting something growing!
So I soaked the seeds, rinsed them well, folded them up in a damp towel, and then rinsing them a few times a day. It wasn’t until the start of day four that they showed any sign of life. I know that it has been a few years but it seems that they sprouted much faster before. Perhaps the hull had toughened up over the years? (Or maybe it’s my memory)
I had almost given up hope to tell you the truth. But they finally sprouted and are going strong.
When starting seeds it helps to remember that they germinate at different times and under different conditions, depending upon the species.
You could give up on celery seed and plant something else if you are unaware that they have a very slow germination rate. (Celery can easily take three weeks to finally sprout and if the soil or growing media is not kept moist they wont budge at all).
Some seeds germinate very quickly under cool temperatures and you are probably familiar with some of them if you have ever grown sprouts in your kitchen.
Starting tomato seeds requires warmth and humidity to germinate.
Other seeds need to be soaked and some need to have their hulls nicked or abraded to encourage germination. Some seeds even need heat to break their dormancy
It is simply beyond the scope of this blog post to give you a crash course in DIY germination but I hope that it piques your interest into learning or trying something new this year.
Now someone asked, “What is Wheatgrass and why do you grow it?” When I say wheatgrass, I am referring to organic wheat seeds that are grown to a height of four to six inches and then harvested for juicing.
Wheatgrass juice is used for increasing red cell count, cleansing the liver and other internal organs as well as the gastrointestinal tract. From my own experience I believe that it is one the most beneficial plants to juice to increase your health.
Growing it fresh on a window sill or a counter-top you know it’s free of GMO’s and chemicals. And of course, Nothing Beats Fresh! The other reason is the cost. Just a few ounces of frozen wheatgrass will run you close $20. Another way to think about it is that is about $180 per gallon!
Suddenly buying some certified organic wheatgrass seed and a tray doesn’t seem like that much trouble! If there is only one thing that you choose to do for your health, try wheatgrass. It is a scientific fact that wheatgrass contains more enzymes, minerals and nutrients per serving than any other vegetable or fruit know to man!
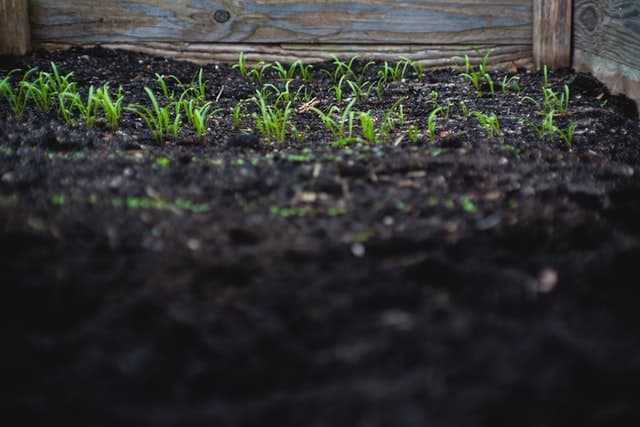
Some of this seed will be placed in a tray of my garden soil and when it grows to four and six inches high I will trim the tops and run them through my juicer.
The rest will be allowed to grow to maturity and left to ‘go to seed.’ That way I will be able to save the seed for even more trays. It is a very good investment from my perspective.
The other night, I took some sprouted seed and being very careful, made a small slit in rock wool and tucked the roots is. One of the roots
happened to escape, just look all the hairs on the root.
It wasn’t until I began chatting with some aeroponic growers that I discovered some of the
tricks that they use to increase germination rates.
One method is that after rinsing, the seed is folded in a damp paper towel and then put in a plastic baggie and hung in a dark place.
When the seed has germinated, it is carefully placed in rock wool and placed into the aeroponic system.
These folks have raised the bar on starting seed indoors to an art and have nearly a 100% germination rate. It does take more time than poking holes in the dirt, dropping in seed, covering and then watering. But what if you don’t have many seed to waste?
When roots start coming out the sides and bottom of the rock wool the seedling is ready to be transplanted.
It can be placed into an aeroponic (or hydroponic) system. Then they are transplanted into a larger container or are prepped for transplanting outside.
It’s not too late to get seed so what are you waiting for?
Have you made a list of your favorites yet?
Got a sketch of your plot and know what is going to go where?
If you still need seeds let me encourage you to visit


